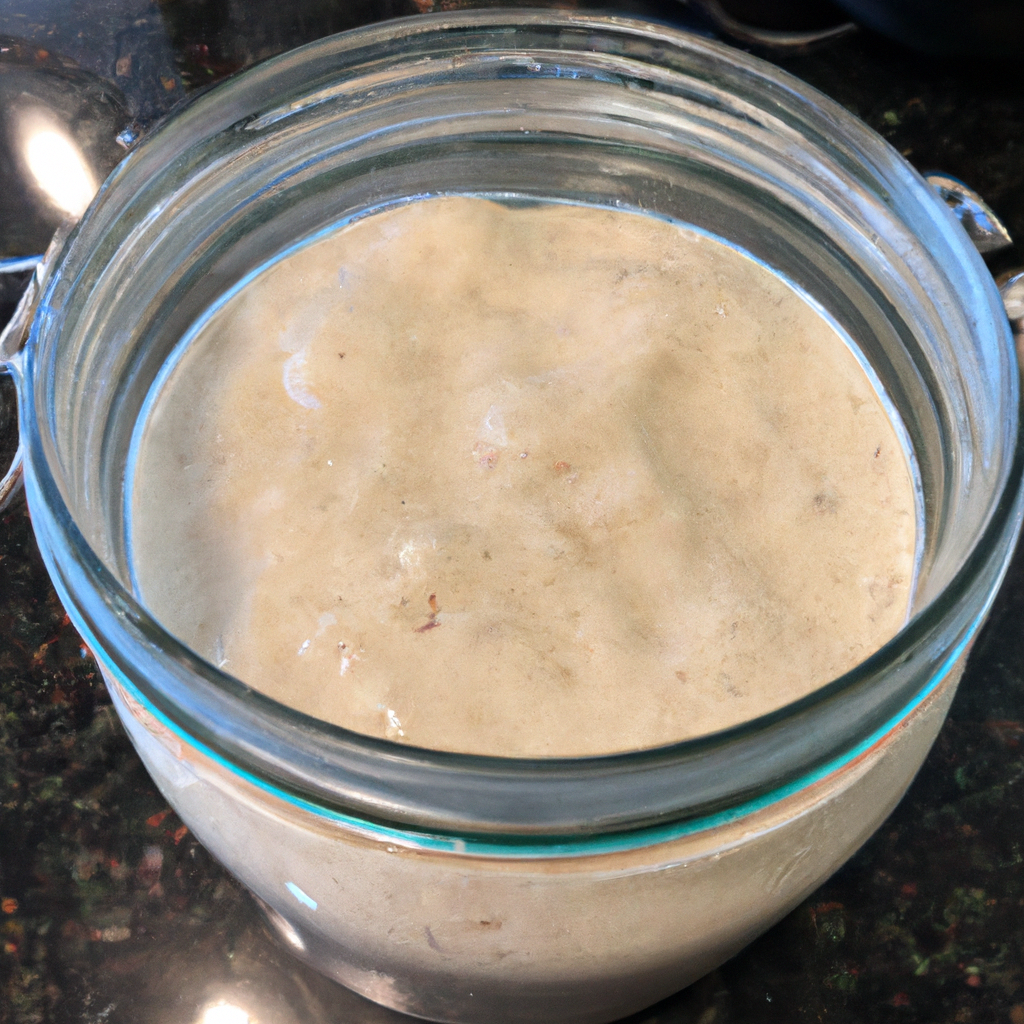
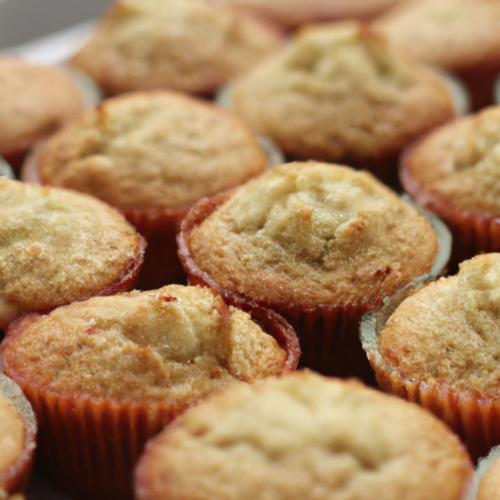
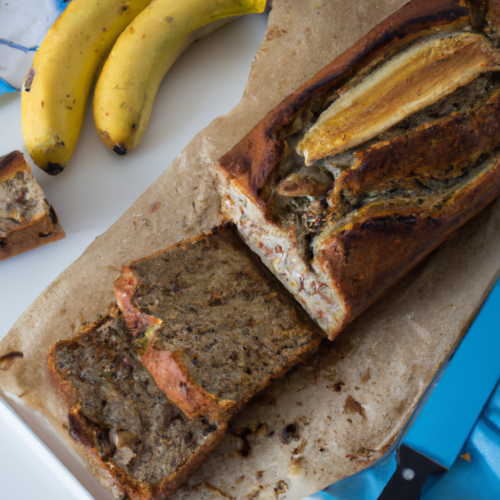
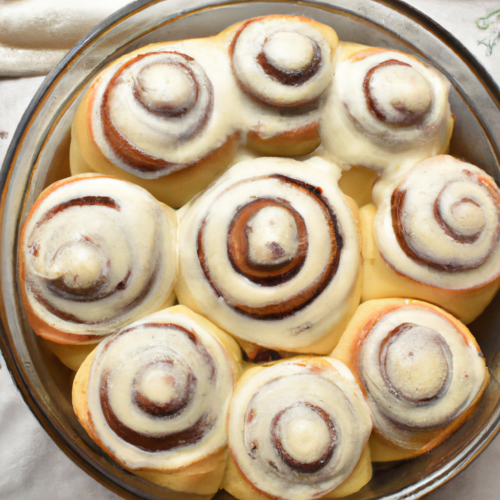
Making a sourdough starter from scratch is a rewarding and delicious process! Using this recipe, you can create your very own starter in just a few days. Sourdough starters are the essential components of sourdough bread, and are created by combining flour, water and natural yeasts, which slowly ferment and form a complex and deeply flavored dough. With this recipe, you’ll learn how to create a flavorful and active starter that you can use to bake delicious sourdough breads.
Ingredients used:
For 1 people
- 1 C - Whole wheat flour, organic if possible
- 1 Tbsp - Diastatic malt
- 1 tsp - Honey
- 1 C - Raisin water
- 1 C - Unbleached bread flour, organic if possible
- 0.5 tsp - Diastatic malt
- 0.75 C - Water
- 2 C - Unbleached bread flour, organic if possible
- 1.5 C - Water
Recipe steps:
- Day 1: Mix all ingredients until they form a smooth sponge. Cover loosely and allow to ferment at room temperature (65 to 75 F) for 24 hours. Do not cover too tightly as it will form lactic acid. Also do not cover too loosely.
- Day 2: Add day 2 ingredients and mix well, making certain that all the flour is wet. Cover again and allow to ferment at room temperature for another 24 hours.
- Day 3: You should be seeing some signs of activity by the third day. Add the day 3 ingredients and mix well. Don't worry if the previous day's sponge has separated. Cover again and allow to ferment at room temperature for another 24 hours.
- Day 4: There should be definite signs of fermentation in the form of bubbling and a faint smell of vinegar. Discard half the starter. Refresh with the day 4 ingredients as on the previous days. Cover again and allow to ferment at room temperature for another 24 hours.
- Day 5: Discard half the barm. Repeat the day 4 refreshment instructions. You may begin building a sourdough loaf on day 6.
- The next day (of the rest of your life): Follow the basic refreshment pattern of one cup flour to 3/4 cups water for every two cups of barm. You always want to approximately double the barm to ensure that the yeast has plenty on which to feed. After a refreshment, allow the barm to remain at room temperature for 4 to 6 hours, and then refrigerate until the next refreshment.
- Refresh the barm every day or every other day, whichever pattern you find works best. Some claim that better, more complex flavors come from a two day refreshment cycle. You will have to refresh the barm on any day that you make bread in order to rebuild your maintenance volume.
- You should keep enough barm to be able to make bread and have two cups left over.
- When building a dough, it is recommended to remove the barm from the refrigerator one to two hours before you begin to allow the yeast to reawaken. Catch the barm before it falls to make tomorrow's starter.
- Never try building a dough from a barm that has just been refreshed. Always allow the barm to ferment four to six hours (and preferably refrigerate it overnight) before beginning.
- On a day when you are not building a dough, but need to refresh the barm, discard to about half of your maintenance level and refresh as usual. On a day when you begin to build a loaf, the discard goes toward the build (firm starter).
- If you neglect the barm for four or five days to a week, discard all but a cup of barm and rebuild over two to three days of refreshment. The barm may be considered neglected if there is a greyish liquor (known as "hooch") floating on top. A healthy barm will have a definite feeling of life when you put your hand in it; a neglected barm will not. It will feel like a flat pancake batter.
- You may freeze barm for up to six months and refresh it (at least) three feedings to bring it back up to strength.
- If you want to leave the barm unattended for a period of time, feed it and leave it for three hours at room temperature, then refrigerate it.
Making a sourdough starter is a fun and rewarding process that can yield delicious and nutritious breads. As long as you follow the steps of this recipe and maintain the starter, you will have a starter that can last you a lifetime! Happy baking!


